This article contains step-by-step instructions on how to manually take images with the QX1 camera. The procedure is only for testing purposes when instructed by Wingtra support.
In order to assess the actual image quality, please take the images in conditions of normal illumination. In other words, do not take images in dark rooms or in extremely bright environments.
Step-by-step instructions
- Make sure the WingtraOne is not powered on
- Lay the WingtraOne down on a flat surface
- Open the top cover
- Open the PPK cover by using the push button (if applicable)
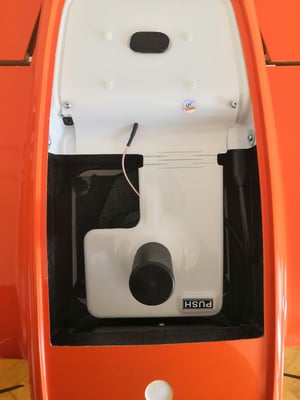
- Remove the mount ring by pressing the push button
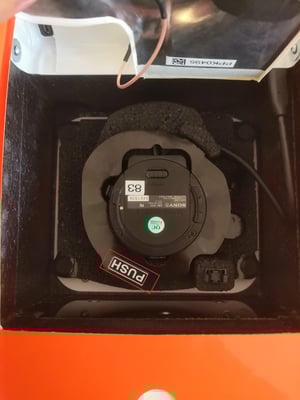
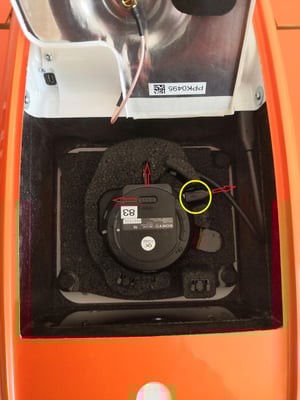
- Open the camera cover by sliding the OPEN lock and gently pulling the lid in the direction of the electronics bay, then unplug the USB payload connector (yellow circle)
- Take the USB adapter (part of QX1 bundle) and remove the SD card from it
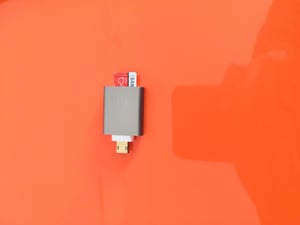
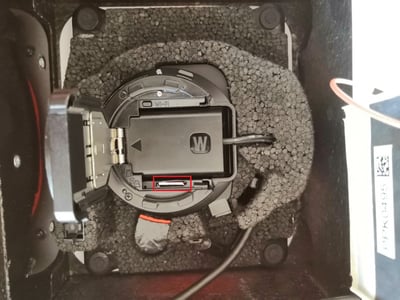
- Put the SD card into the QX1 camera, and gently push it until it clicks. Make sure the top of the SD card (red side) faces toward the dummy battery
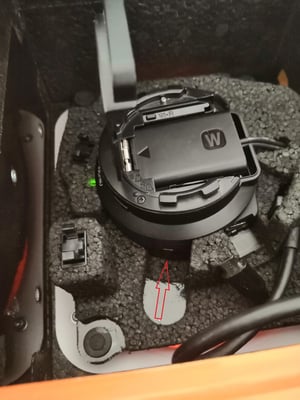
- Turn on the drone by plugging in the batteries—the green LED should illuminate
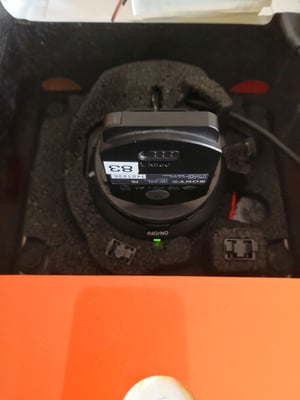
- Manually trigger the image by pressing the button on the side of the camera
- Power off the drone, and remove the SD card from the camera
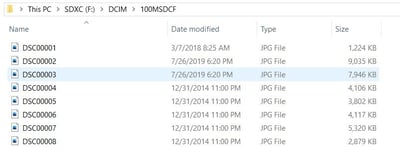
- Put the SD card into a laptop and browse for the images in the DCIM folder, then inspect the images or forward them to Wingtra support for the assessment
-
After you are done, please perform the following checks to ensure the camera works properly:
- Check that the SD card is no longer inside the camera but back in the QX1 dongle plugged into the WingtraOne
- Close the battery lid
- Connect the USB cable to the camera
- Add the ring to fix the camera in the mount
- Close and lock the PPK lid