This article explains how to replace the battery plugholder in the battery compartment.
WingtraOne should not be powered on during the replacement.
Required tools
- Torx TX10 screwdriver
- Torx TX6 screwdriver

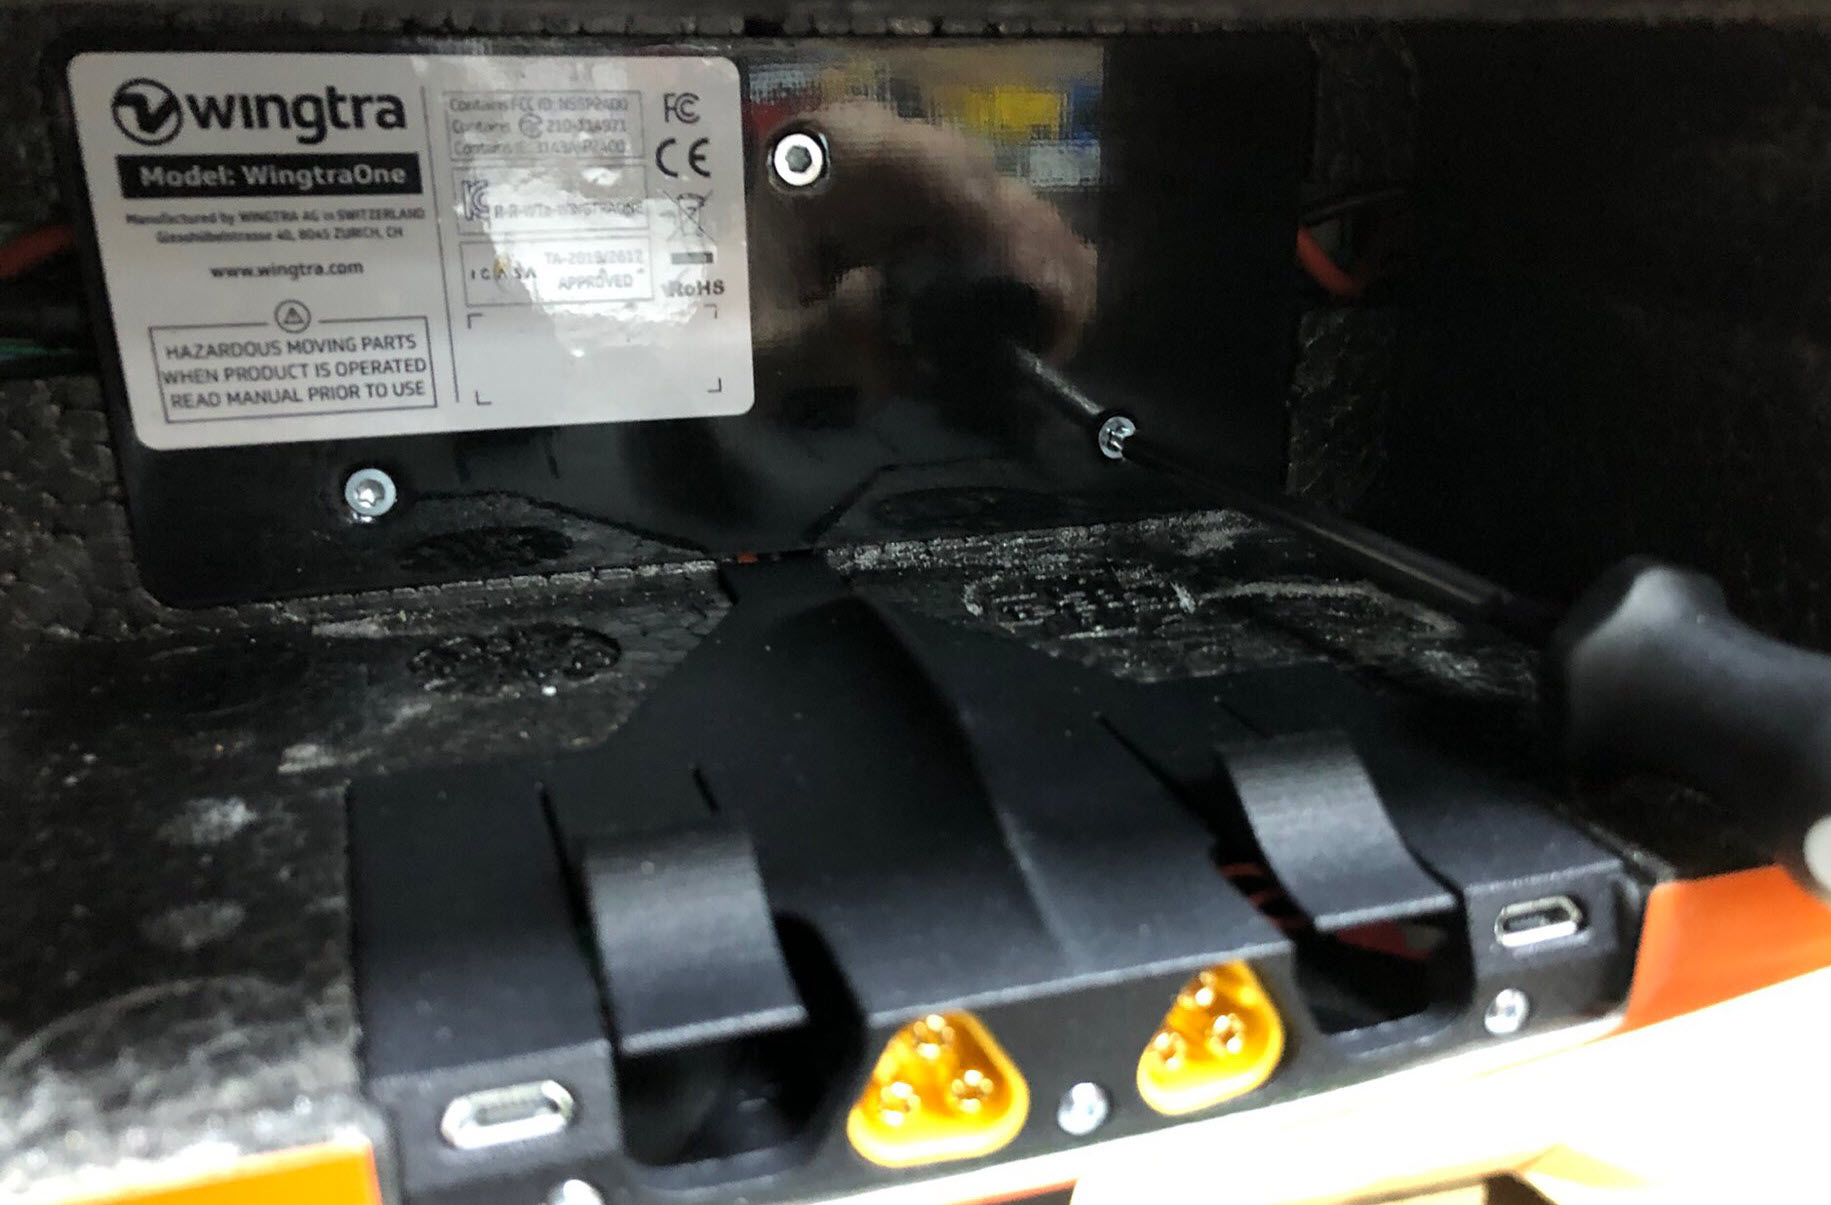
1. Remove the batteries from WingtraOne. The part to be replaced, when it is damaged, is the highlighted one.

2. Unscrew the three M3x8mm countersunk Torx screws of the black battery front plate (the one with the CE sticker on it) with the Torx TX10 screwdriver.

3. Remove carefully the battery front plate to get access to the electronics.

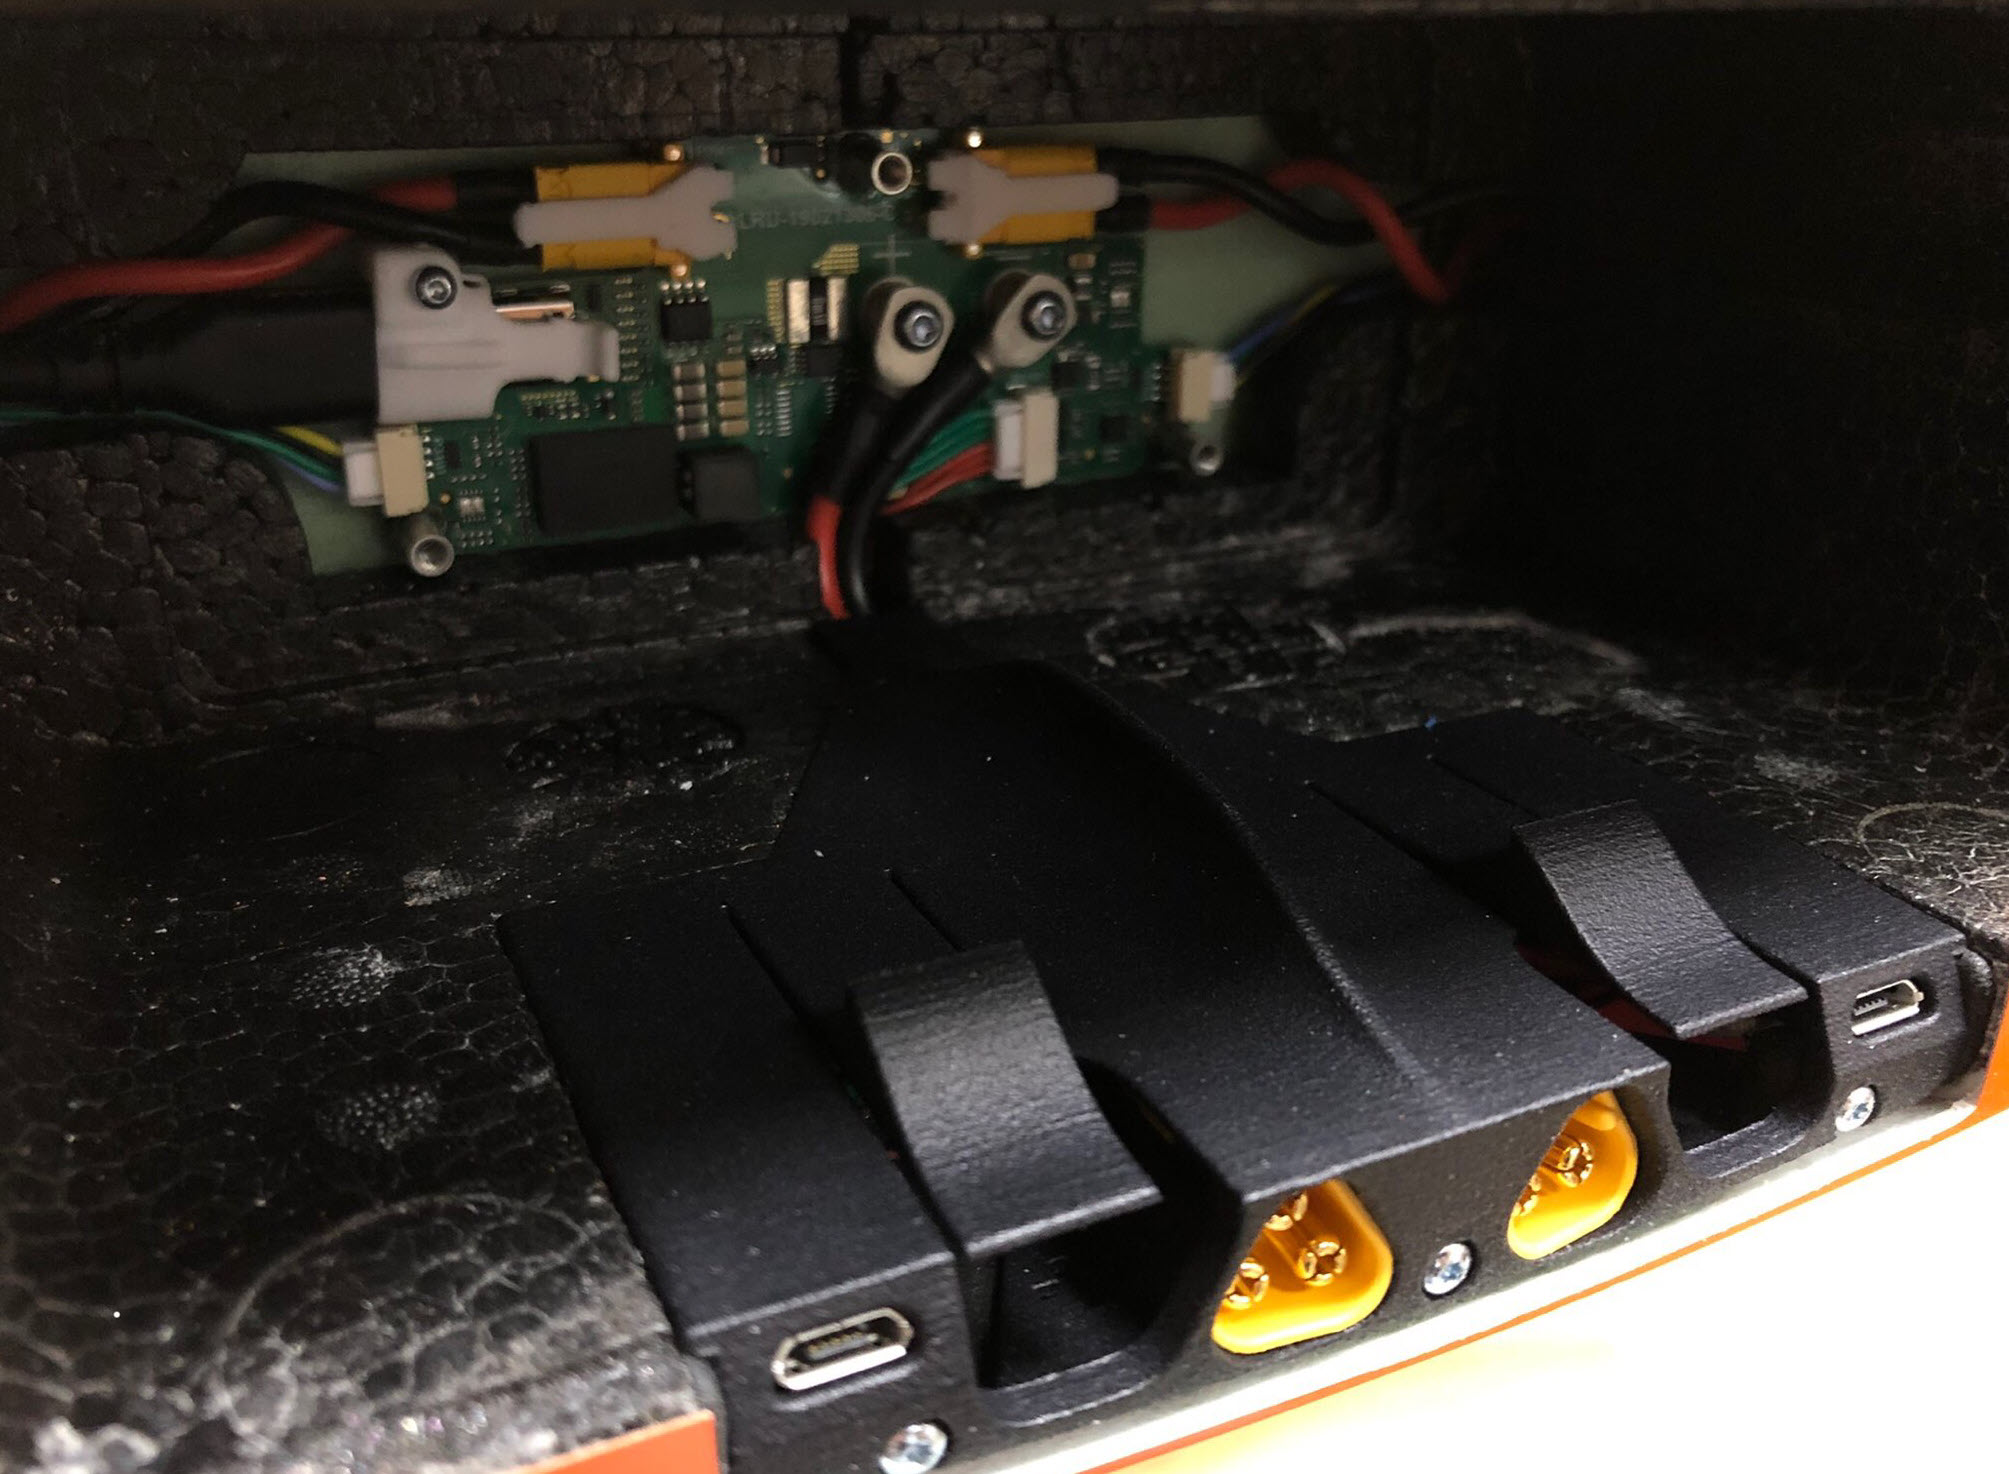
4. Carefully unplug the BMS (red/green) cable, which is highlighted below.

5. Unscrew the two M3x8mm Torx screws from the main power cables on the electronics board. It is highly advised to hold and push the other battery black plate that is located in the payload compartment (see the third picture below) against the drone body and add a bit of force to the screwdriver to easier screw the screws. Note that if you do not push this plate, it is likely that the plate on the battery compartment is getting loose and cables are stuck between the battery plate and the drone.


6. To remove the battery plugholder, unscrew the three 9.5 mm Torx screws with the Torx TX6 screwdriver

and lift the plugholder from the front and slide it out of the battery compartment.

7. To mount the new battery plugholder, plug in the BMS (red/green) cable and screw on the main power cables to the electronic board. Make sure that you use the new M3X8mm torx screws and tighten the screws with 1.2 Nm. The cables should be in the same order and angle as in the picture.
8. Slide the new battery plugholder into the lower counterpart which is mounted to the drone and place the cables in a way that they are stretched at the electronics board and laying loose under the part. Secure the part with the three 9.5mm Torx screws.


9. Mount the battery front plate by placing it into the battery compartment and screw it on with the three M3x8mm countersunk Torx screws. It is important that you also use here the new M3x8mm countersunk Torx screws.